Overview
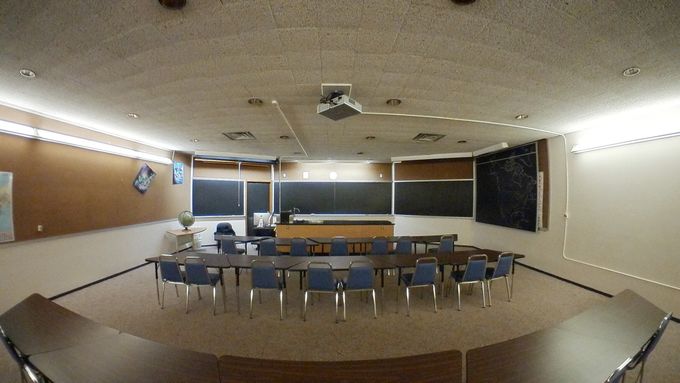
The Wood Room is a teaching space located on the second floor of Mayer Hall. Instructional technology available in this space includes a ceiling-mounted projector, manual projection screen, instructor table with an iMac, VCR, document camera, and connection for a laptop.
Contents
The information below documents how to accomplish common tasks with the a/v equipment in the room.
| Table of Contents | ||||
|---|---|---|---|---|
|
Follow the steps given below to project the classroom computer, assuming that the computer is already turned on. Note that the power button for the computer is behind the screen.
Turn the projector ON using the red Power button on the projector remote.
Once the projector display comes up, press the Computer button on the remote to display the computer.

Capacity | 48 |
|---|---|
Furniture | Tables and chairs, instructor lab table, two 4ft chalkboards, 6ft chalkboard, and 16ft chalkboard. |
Technology | Ceiling-mounted projector, manual projection screen, |
document camera, connection for laptop. | |
Special Notes: |
|
|---|---|
Links: |
Projecting from the classroom computer
Audio volume can be adjusted on the computer using the speaker icon in the taskbar (lower right corner near the clock) or by using the audio adjustment dials on the front of the speaker.
Once you are finished using the equipment, please power down all components including the projector.
Projector Remote Control
Belkin Switch Box
Projecting from a laptop
Connect the laptop VGA cable to the corresponding port on your laptop.
Turn the projector ON using the Powerbutton on the projector remote.
Once the projector display comes up, press the Computer button on the remote
.
For audio, plug the 3.5mm audio cable into the headphone port on your laptop.
Audio volume can be adjusted on the computer using the speaker icon in the taskbar or by using the audio adjustment dials on the front of the speaker.
When you are finished using the equipment, please power down all components.
VGA Cable
Belkin Switch Box
Projecting from the document camera
Follow the steps given below to project from the document camera.
Turn on the projector by pressing the red Power button on the projector remote.
Press the Computer button on the projector remote to display the document camera
.
Press the Camera button on the top of the document camera.
Camera image controls:
The Zoom +/- buttons on the control pad control the zoom level of the camera.
The Focus dial on the head of the document camera controls the camera focus.
The Freeze button on the control pad will freeze the current image.
There is an LED lamp switch on the head of the document camera.
When you are finished using the equipment, please power down all components.
Document camera
Turn on the projector by pressing the red Power button on the projector remote.
Press the Video button on the projector remote.
Turn the VCR on by pressing the power button.
Insert the tape, it will begin playing automatically.
Turn the volume knob on the speakers (behind computer) until you hear sound.
If you hear no sound, ensure the black cord is plugged into the second input on the back of the speakers.
Additional controls:
Use the DVD/VCR remote control (supplied with the unit) to navigate and control the cassette tape or disc.
The Video Mute button on the a/v controller will shutter (blackout) the projection without turning the projector off.
Audio level can be adjusted using the Volume +/- and Mute control on the right side of the control screen.
When you are finished using the equipment, please turn off the speakers, VCR, and projector.
Control Panel on the camera
Belkin Switch Box