Overview
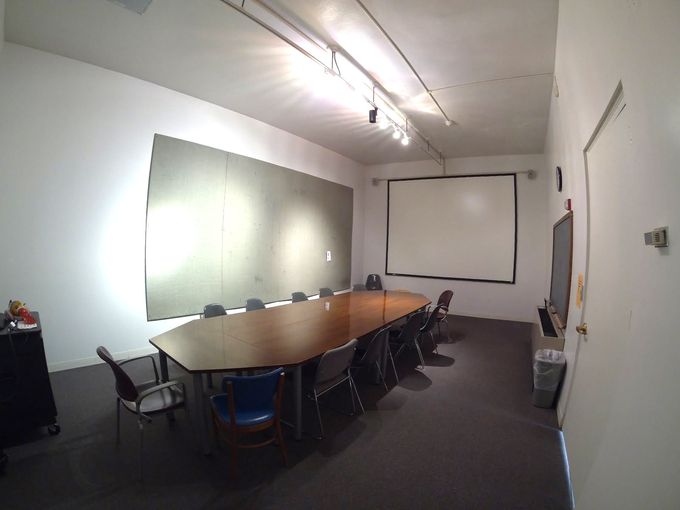
The Wright 202 seminar room is an Art and Art History teaching space located on the second floor of the Wright Museum of Art. Instructional technology available in this space includes a ceiling-mounted data/video projector, permanent wall-mounted projection screen, DVD/VCR, document camera, wall-mounted speakers, Windows PC, and connections for laptop and audio. Contents
The information below documents how to accomplish common tasks with the a/v equipment in the room.
| Table of Contents | ||||
|---|---|---|---|---|
|

Capacity | 12 |
|---|---|
Furniture | Conference table, chairs, a/v cabinet. |
Technology | Ceiling-mounted projector, wall-mounted projection screen (fixed), wall-mounted speakers, a/v cabinet with DVD/VCR combo player, connections for laptop and audio. |
Special Notes: |
|
Projecting the built-in computer
Press the On button on the wall-mounted Extron a/v controller to activate the room a/v system.
Once the projector activates, press the PC source button on the Extron controller.
Turn the computer ON using the Power button of the unit.
Additional controls:
The computer can be controlled using the Logitech wireless mouse and keyboard in the a/v cabinet.
Audio level can be adjusted using the Volume knob on the Extron controller.
When you are finished using the equipment, please power down all components and press the Off button on the Extron controller.
Extron a/v controller
.png?version=1&modificationDate=1525199908076&cacheVersion=1&api=v2&width=129)
.png?version=1&modificationDate=1525199908076&cacheVersion=1&api=v2&width=340)
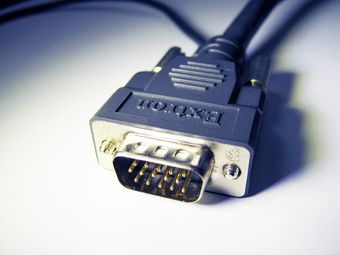
Projecting from a laptop
Connect the laptop VGA cable on the a/v cart to the VGA port on your laptop.
For audio, plug the 3.5mm audio cable into the headphone/audio out port on your laptop.
Press the On button on the wall-mounted Extron a/v controller to activate the room a/v system.
Once the projector activates, press the Laptop button on the Extron controller.
Press the Power button to boot up the laptop.
Audio level can be adjusted using the Volume knob on the Extron controller.
When you are finished using the equipment, please power down all components and press the Off button on the Extron controller.
VGA cable

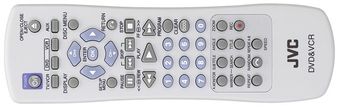
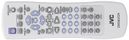
Projecting the built-in DVD/VCR
Press the On button on the wall-mounted Extron a/v controller to activate the room a/v system.
Turn the DVD/VCR ON the Power button on the unit.
Insert your VHS tape or DVD.
Once the projector activates, press the DVD/VCR button on the Extron controller.
Control the video using the menu and playback control buttons on the DVD/VCR remote.
Audio level can be adjusted using the Volume knob on the Extron controller.
When you are finished using the equipment, please power down all components and press the Off button on the Extron controller.
.png?version=1&modificationDate=1525200321484&cacheVersion=1&api=v2&width=156)
DVD/VCR remote
.png?version=1&modificationDate=1525200321484&cacheVersion=1&api=v2&width=453)